The artistic expressions displayed with bike selfies vary widely. We all can’t be expert photographers when it comes to shooting great photos of our bikes. But we can take some pointers that will help us capture the best photos possible.
How do you take a cycling selfie?To take a cycling selfie of your bike, there are three key components: background choice, bike setup, and lighting. Considering a few things before you snap a photo of your bike to show off on social media can be the difference between having an epic pic or an ugly one.
This article is intended to encourage more cyclists to share their works of art around their bikes. Please see this as artistic considerations and not expert advice that has to be set in stone. Have fun looking over some 13 tips to capturing that bike selfie-and showcasing your most prized possessions.
1. Bike Setup Made Easy (7 Tips)

- Position the bike so you’re taking a pic of the drive side exposing the cassette and big ring
- The tire logo should be aligned facing the same direction as the other wheel
- Typically tire valves should be at the bottom
- Have a level saddle making sure it’s not angled upward or downward
- Bike chains should be on the middle of the cassette (on geared bikes) and on the big ring where the pedals are
- Crank arms should be level with the chain-stay or parallel with the ground
- Remove all pumps, lights, saddlebags, and any other accessories attached to your bike
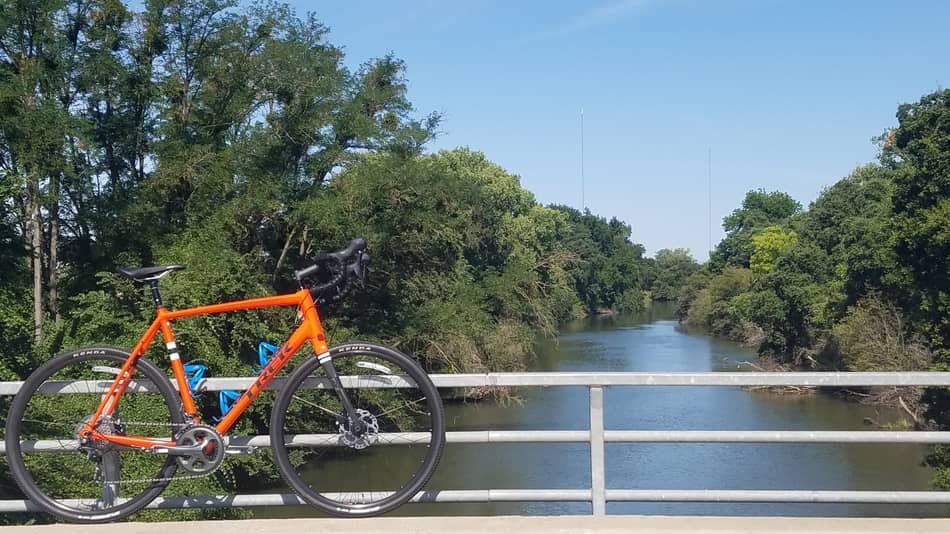
2. Location Is Everything
If you want those above-average shots, then you have to look beyond your current scenery. Not everyone can venture out to the beautiful national parks or even the best bike trails but look for areas that pop out.
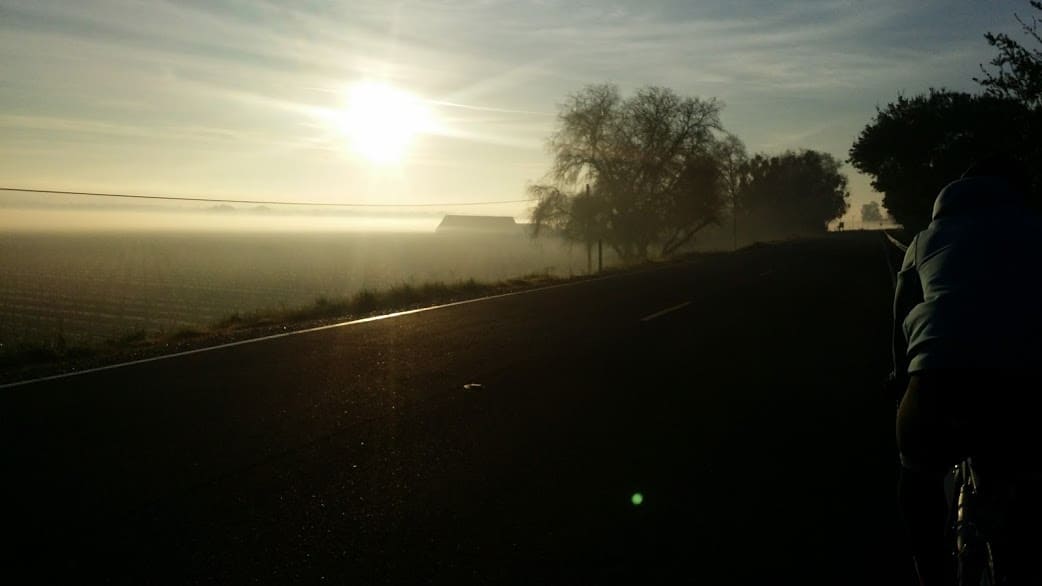
Consider biking early before sunrise or close to sunset and you can find that the sky provides a nice background for shooting. One time I rode my bike early in the morning on a levee and was fortunate to capture an awesome angle of the fog sitting below the levee.
Finding a location does not have to be hard either. You may find a hidden path while riding that’s off a main street or neighborhood. Sometimes alleys and areas near water can be an ideal place to shoot.
Whatever location you find, just be sure to avoid areas that distract or obscure the image of your bike that you want to photograph.
3. Shoot In Interesting Parts Of Towns

To make your selfies look great, try riding around in urban or colorful towns. I tend to find some of the best shots in areas where the walls are painted with graffiti. There are other areas like old and abandoned buildings that can make a pic look classic.
If there are bike trails where you ride, then I’m sure there are some interesting site to shoot off the beaten path. For instance here in Sacramento, CA, you’ll find beautiful landscapes of the American River Bike Trail.
In addition to bike trails, there is also something special about pictures taken in tunnels and natural caves. They give photos an edge and tend to liven the atmosphere the cyclist is capturing.
4. Plan Cycling Adventures For Selfies

It’s common that most residential areas do not provide epic places to shoot photos of your bike. Plan to explore new roads as much as possible.
Search out areas that embrace the spirit of adventure. Sometimes you may not have to go very far, but do your research of what others may recommend who live near you.
Cycling in places that are adventurous is exciting and fun. The adventure can present new ideas and views to shoot epic selfies of your bike.
5. Choose A Camera That Suits You
A professional photographer might tell you that the best camera in the world is always the one in your hand! But do you really need a DSLR or Nikon to capture awesome photos? It’s your personal preference, but with the technology packed inside our smartphones today, we can take some pretty awesome shots even without all the high-end tech of digital cameras.
If you do choose to take a camera with you on your rides, consider a comfortable carrier like the Speed Strap available at MettleCycling.com. Another option you may like is a handlebar bag carrier or bike pouch to minimize weight on your back.
Most people prefer to use a smartphone for most of their pics, which is fine. Smartphones can be lightweight, easier to carry, and just as powerful as using a digital camera. In many cases, our phones can take pictures so well that editing may not be needed.
6. Epic Photography Apps
For the tech and app junkies out there that want the DSLR quality looking photos but not the price, fortunately, there’s an app for that. In fact, there are 3 recommended apps worth considering to take DSLR-type photos. They are Lumio Cam, Snap Camera HDR, and Open Camera- Free & No Ads (Available for Android). Check out some of the features of these apps below.
Lumio
- This app’s user interface feature a display like the DSLR
- It has DSLR’s menu button, burst mode, level indicator, exposure options, and more
- The app also supports 4k for video recording
- Shooting in photo mode, allows you to see real-time changes
- Pro version of this app allows you to set the manual ISO and focus
- Additional settings include shutter speed, photo preview, and a redline feature
Snap Camera
- Great app for people who love to shoot videos as much as they do photos
- Amazing features include shooting time-lapse, continuous focus, macro shots, slow-motion video, and more
- This app also displays DSLR like controls and shows an app wheel like DSLR cameras
- Snap Camera is another app that allows more advanced features with the paid version, but you can preview many of them in the trial version
Open Camera
- Powerful user interface and open-source functions for advanced photography
- You will definitely enhance your smartphone’s functionality with the following features: support for focus modes, scene modes, color effects, white balance, ISO, exposure compensation/lock, face detection, torch, and anti banding
- Take photos remotely by making a noise ( voice, whistle), or by voice command “cheese”
- These smartphone camera apps will work with most android operated phones but not all phones may be compatible. Check the google play store for more details.
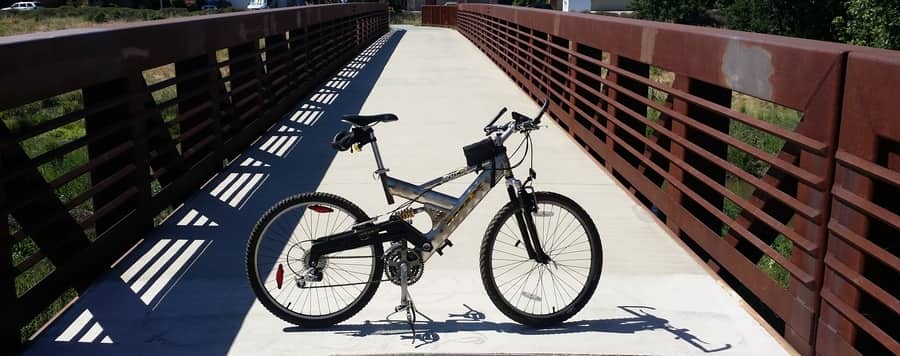
7. Props Are A Must

What do you do when you want to create that awesome bike selfie but don’t have a kickstand (Most road bikes don’t have one)? Just use nature’s finest props made by tree branches, palm tree husk, rocks, Gatorade bottles, and anything else you can find. Some have found it ideal to just use their bike helmet.
Sometimes the ideal prop would be to lean a bike up against a wall. This use of a wall though can be oversaturated and it would help to look outside the box.
Others might choose to have a friend balance the bike, then release it so you can get a shot before it leans over. This can be a tricky method to getting that shot and chances are you may not save the bike from crashing to the ground speedily.
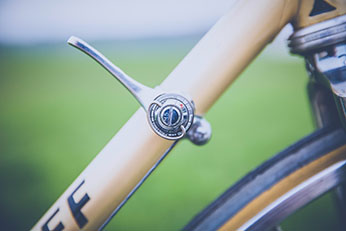
8. Experiment With Different Angles

Like the Lamborghini & bike shot, you see pictured above, taking a bit of an angled shot can be appealing to the eye. You don’t have to go too crazy with angles but shooting from a different perspective like above the bike or at hip level can make for a more interesting selfie.
Some ways to do this well is to look at other photos of bikes and think of alternative angles that will make your bike selfie photo more interesting. When possible, take as many different angles as you can to get that exceptional shot.
Every photo tells a different story. So by carefully thinking about different angles to use, you will help the person viewing your photos to see your story.
9. Camera Viewpoint
As much as possible try to avoid awkward views of your bike such as a shot of just your handlebars or the back of your tire. Aim to get a view of the whole bike and then you can work from there placing emphasis on specials features with camera filters.
Another tip is to photograph no higher than the top tube to avoid the bike looking small. Shoot from a squatted position if you’re tall. Avoid taking pics lower than the top tube unless you want to make the bike look tall.
10. Lighting

You can capture great photos in almost any light with the technical features found in our smartphones and cameras that adjust to the light or dark.
In my opinion, it’s all about natural light because there is nothing that can replace the awe-inspiring variety of natural light. So that being said I do not recommend artificial light.
Throughout one’s day, the natural light can change in these three instances: sunrise, daytime, and sunset.
If you happen to get out before sunrise you will find warm lights pleasing to the eyes and shadows that add depth and definition.
Shooting during the daytime can be tricky but not too bad to get epic photos. The light is harsher but you can still capture reflections, shadows, and silhouettes.
Taking pics after sunset or close to nightfall, I’ve found some amazing colors in the background. The colors are usually very soft and warm at these times.
11. Selfies At Night
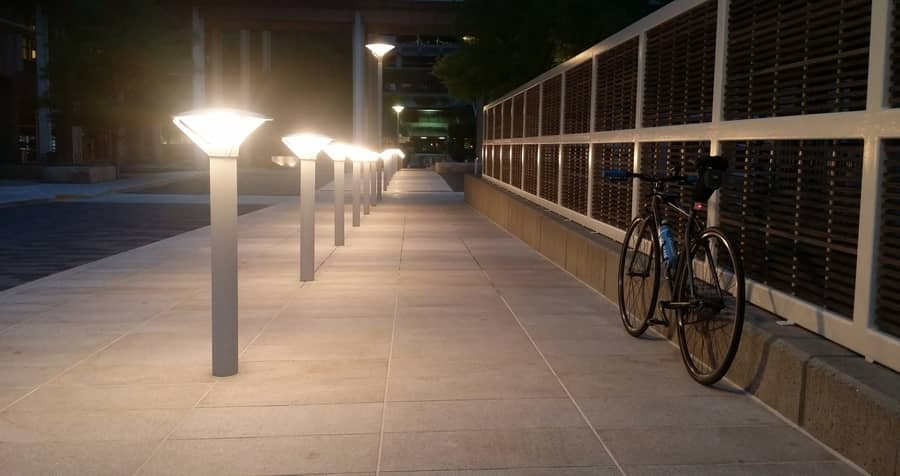
Now this time of the day can make for some great photos or not so great. Night photos are a bit tricky to get the lighting right as there is no natural light available.
In this case, you will definitely be depending on the features of your camera or camera phone. Many cameras have a night mode feature built-in but the shots can vary greatly between different devices.
When shooting at night trying to find a place that has great lighting that won’t take too much from the subject at hand: the bike. Depending on how bright the night lights are, you may end up with an overexposed pic or it may complement the bike very well.
It’s your choice to try shooting at night but to capture great photos at that time it may take using some additional resources and lighting.
I would still opt for taking pictures during the daytime with natural light because the odds of getting a great shot are much better.
12. Photography Rule Of Thumb
So this rule in photography is actually called the “Rule of Thirds”. You want to ensure that the bike photo is not exactly in the middle of the shot. Taking a shot of your bike should be dynamic and well-composed within the frame of your camera view.
To do this good aim to photograph your bike slightly off-center. It will draw in some of the backgrounds and make your shot look more interesting. You may need to move around a bit to get the best view.
Some camera features have a setting that applies the rule of thirds grid so you don’t have to guess if you’re position is accurate. Making it a habit to shoot selfies of your bike like this will help force you to think more creatively capturing epic shots.
13. Practice, Practice, Practice

Taking selfies of your bike will not come easily in one shot. It can be hard to get good shots especially if you’re outdoors.
Taking lots of photos at once will help to get the right shot. Try to use burst shots or timed shots at different angles to help capture light and backgrounds for more crisp looks.
You will constantly be looking for that right background, lighting, interesting angle, and warm feeling. But don’t think it will happen overnight. Practice makes better? If you get in the habit of taking a selfie of your bike every time you’re out riding, I’m sure you are bound to capture that exceptional photo.